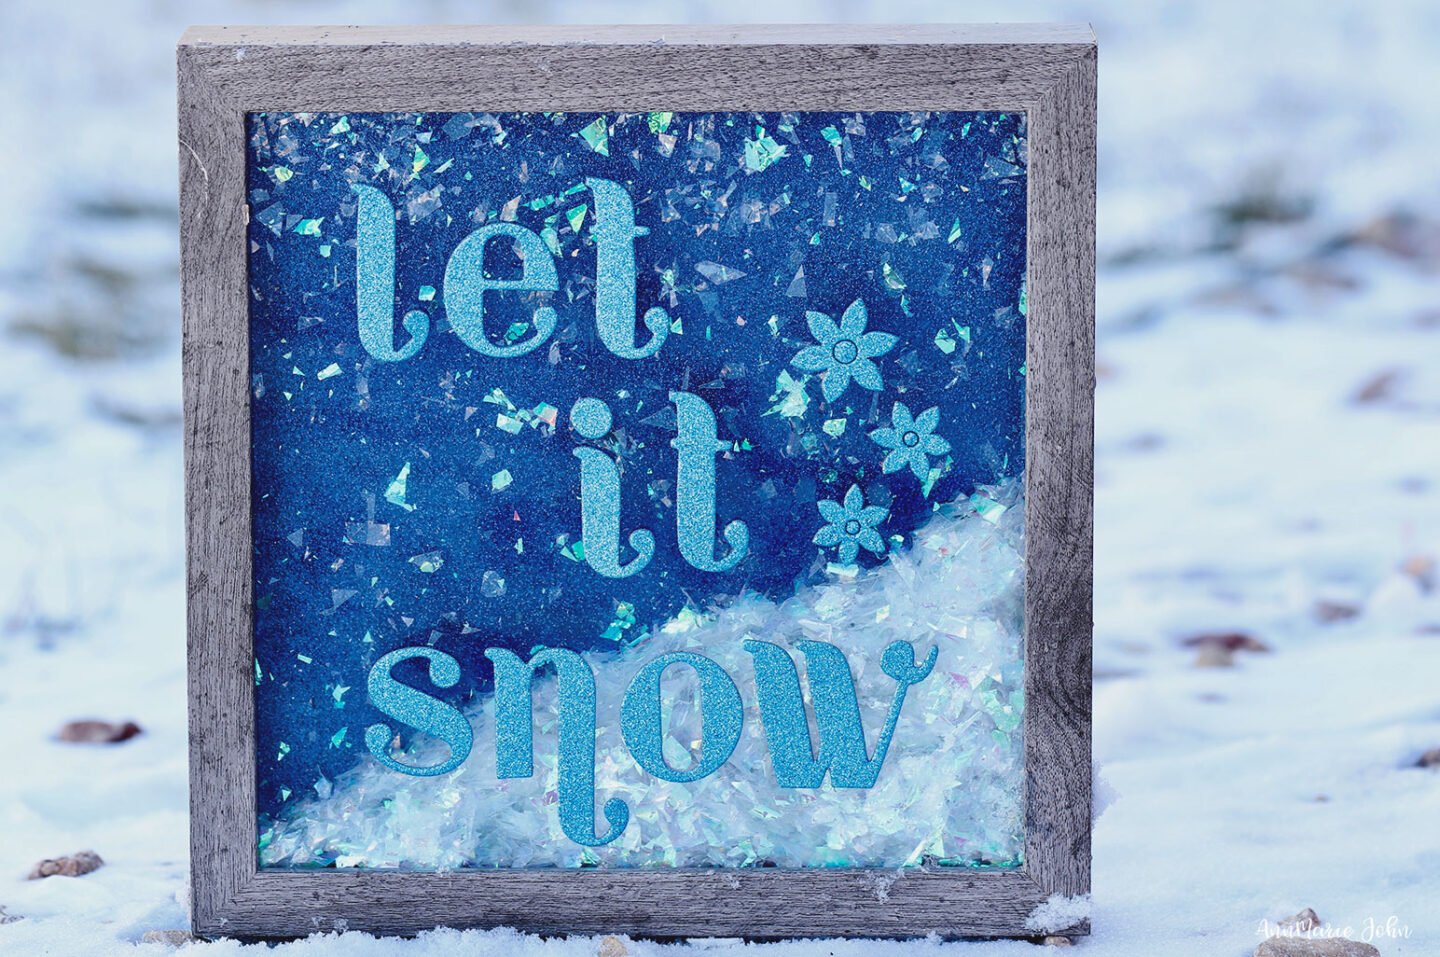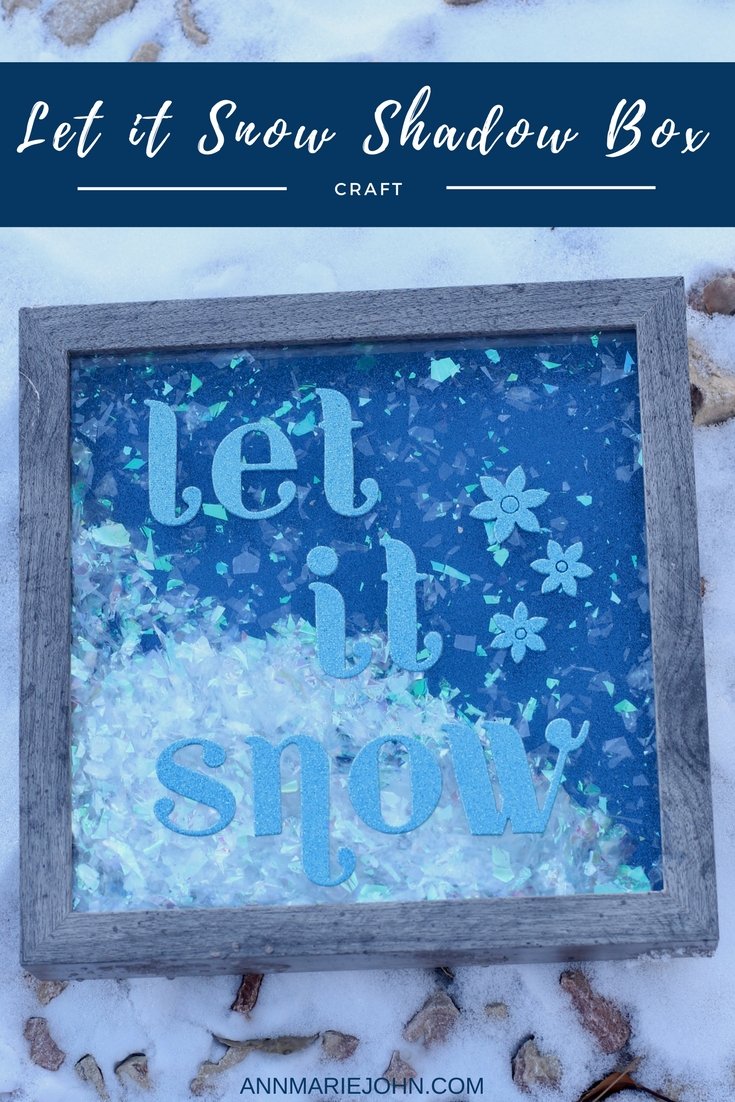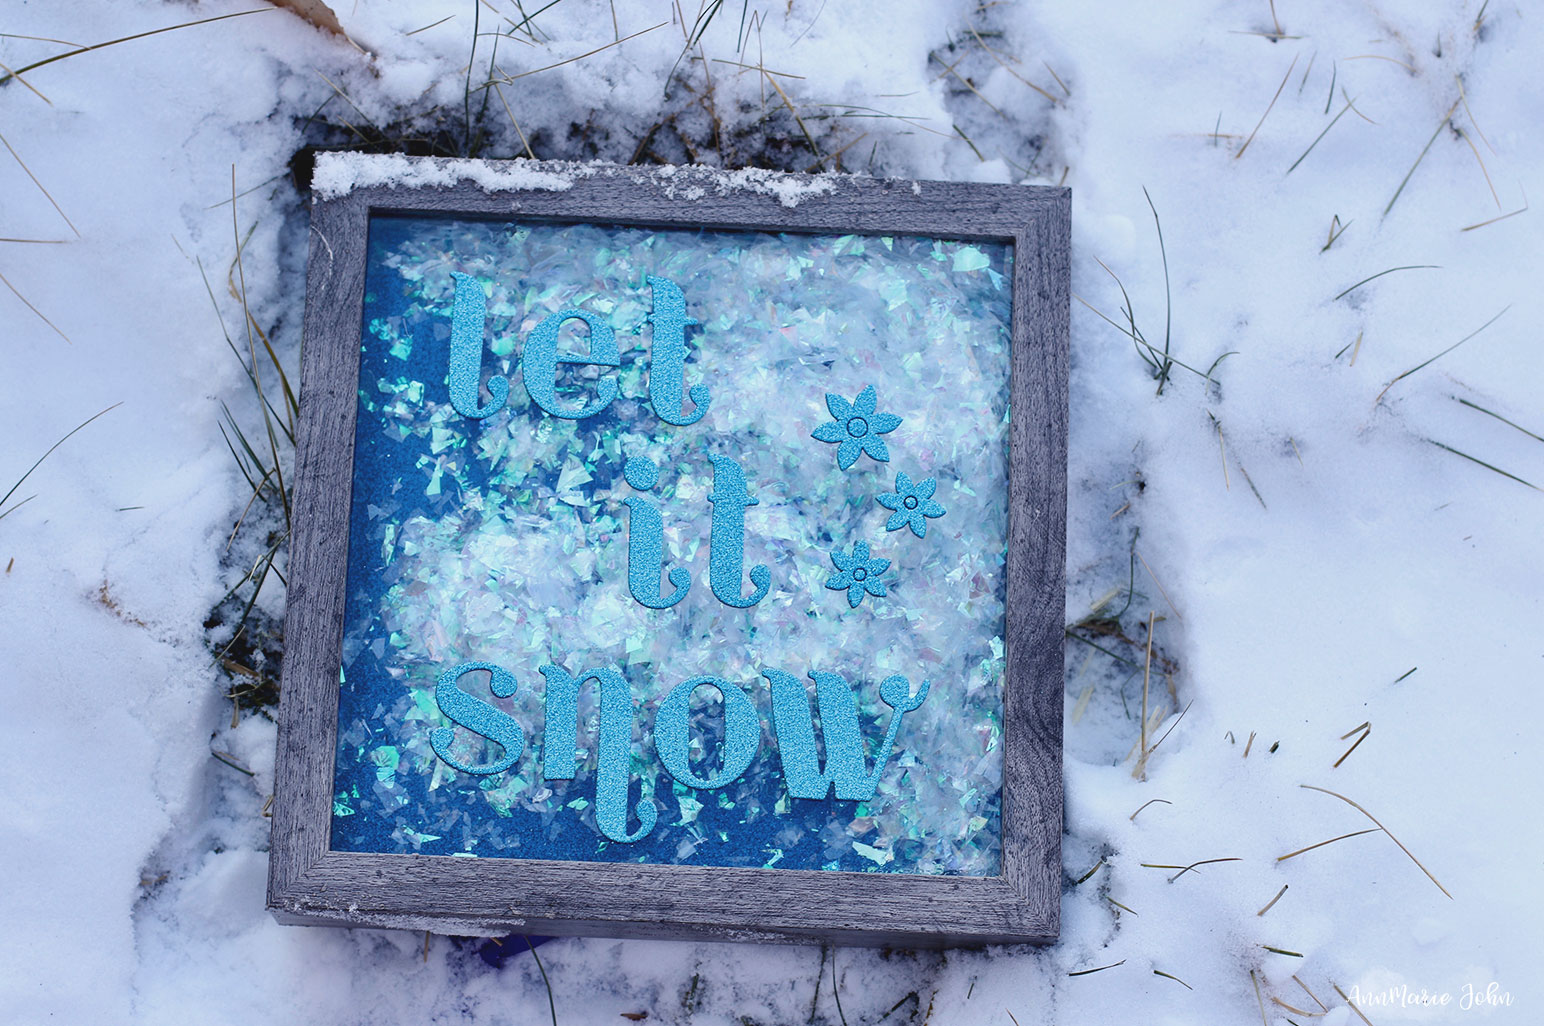
Today I want to share our “Let it Snow” Shadow Box in celebration of the snow we just received. While most of the United States was lamenting that they were receiving “too much” snow, we here in Colorado Springs were complaining that we weren’t getting any. After all, what is winter without snow? For the past few months, it felt as though the seasons jumped from Fall and just decided to welcome Spring. Well, yesterday, it finally snowed and Madison was ecstatic.


Do you see the excitement on her face? She couldn’t wait to put her boots and jacket on and head outdoors. See, she recently had dental surgery and has been home for a few days, just cooped up inside. Madison is not the kind of child who loves being locked up all day. She loves and enjoys nature and would much rather be outside in the cold enjoying a snow day than inside just twiddling her thumbs, unless, of course, she’s creating crafts. Since this was our first bit of snow all winter, we decided to do a winter craft. I just love shadow boxes. Not only are they simple to create, but they very rarely take up much of your time. This particular Let It Snow shadow box took me less than five minutes.

“Let it Snow” Shadow Box
Here’s what you’ll need:
Supplies
1- 9×9 shadowbox
1- package of confetti glitter
1- package of alphabet letters
1- dark colored card stock paper (I chose a dark blue so it would contrast well with the glitter, and because it reminded me of the sky)
(I purchased all my supplies at Michaels since they had an amazing sale, but you can generally find these supplies at any craft supply store.)

Instructions
I almost feel foolish giving instructions for this craft because of how simple it is, but there may be just a few who would prefer that I do. So here goes:
1. Start by removing the back of your shadow box. You’re going to need the back of the box so that you can get the correct measurement of your card stock. You want the card stock to fit correctly in the back of your shadow box. Most card stock is about 12×12, while your shadow box is 9×9. However, if you place the back of the box against the card stock paper, you can then cut it to the correct size.
2. Empty the contents of your confetti glitter into your shadow box. This will replicate the snow. Don’t worry about it being “everywhere”, it will slide to the bottom once you’re done.

3. Your card stock paper should be the correct size. You will now be able to insert it at the opening of the back of your shadow box before replacing the cover.

4. Now comes the easy and fun part, although everything has been uncomplicated thus far. Simply add your letters to the front of your shadow box and voila, you’re done!!

This has been one of the most straightforward shadow boxes that I’ve done thus far, and I’ve done quite a lot. I’m already working on one for Valentine’s Day, and I can’t wait to share it with you. In the meantime:
Let it Snow!
