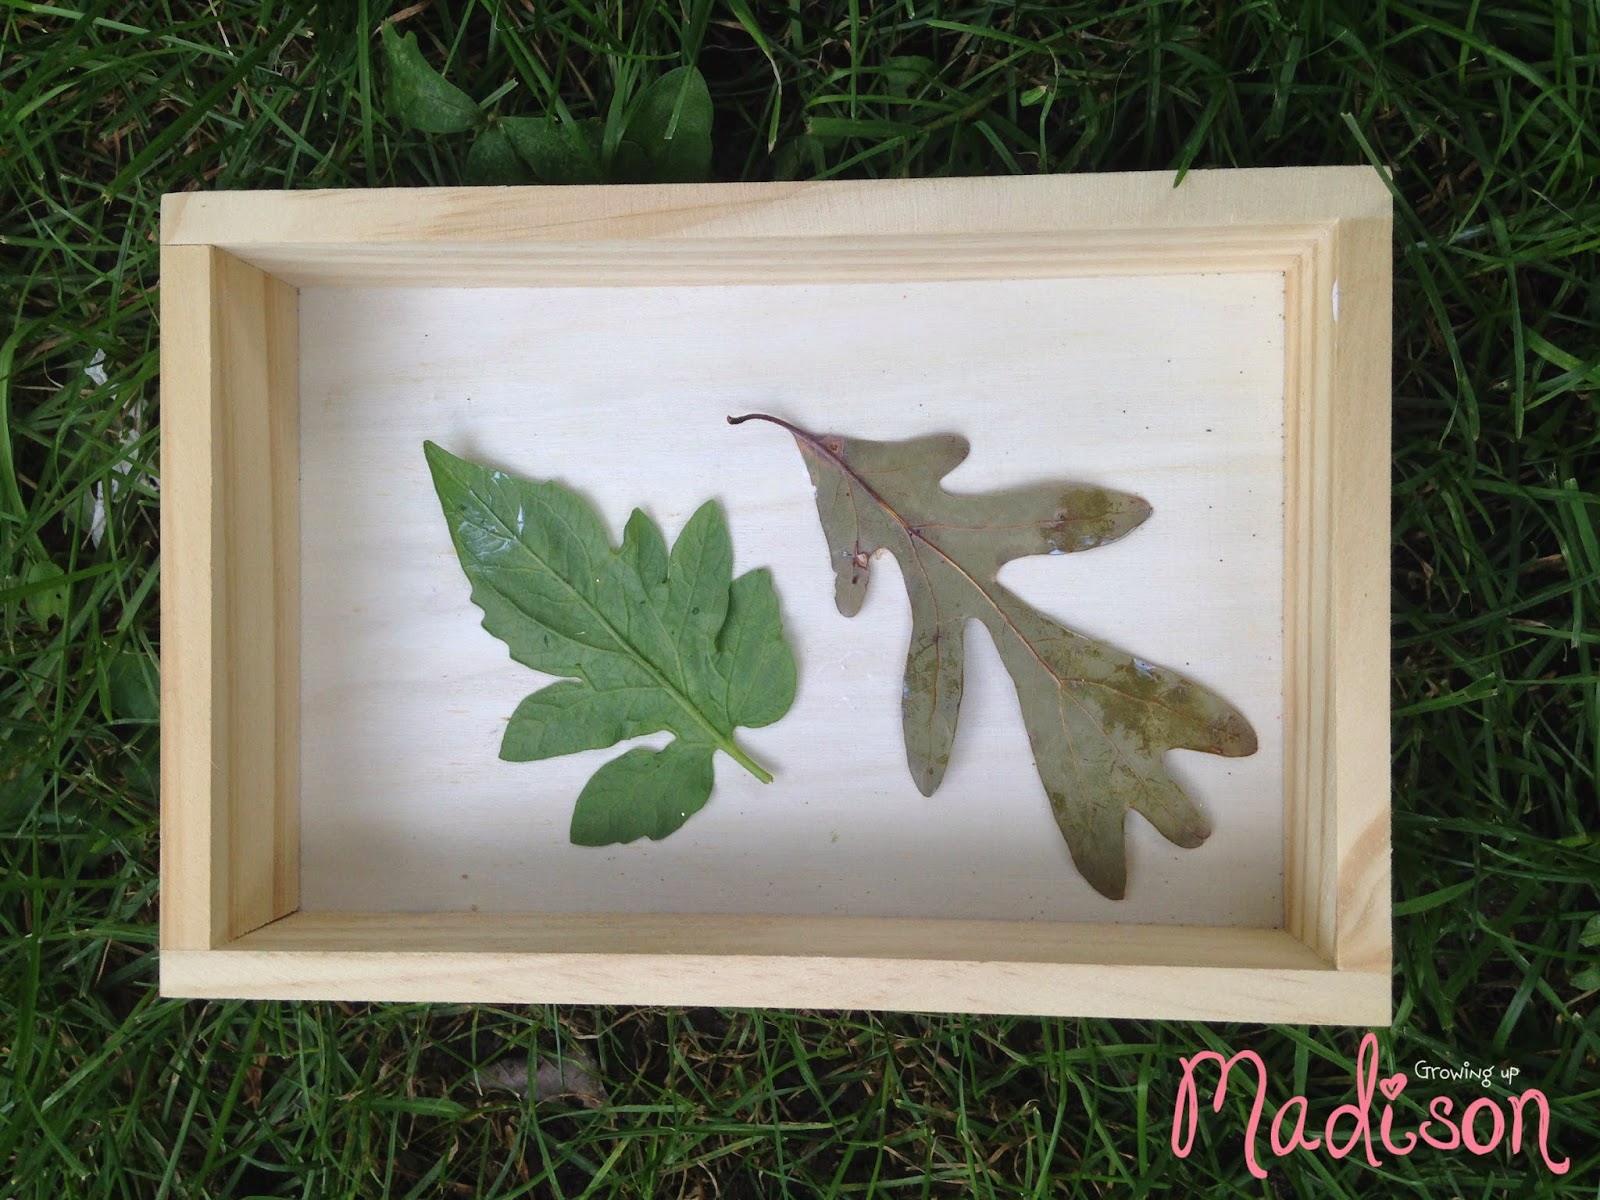
If you are looking for a frugal fall craft project, look no further than this leaf stamped wall hanging. This leaf stamped wall hanging brings the beauty of the fall season indoors, and creates a decorative piece you can enjoy for years. Take a peek below at how you can get started on your own.

Here is what you will need:
Wood tray (Michael’s Craft store, $3.00)
Assorted leaves
Spray paint in your choice of color
Craft Tape
Ribbon of your choice
Hot glue, glue gun

Directions:
1. Begin by finding some nicely shaped leaves. You want them to be soft and pliable.
2. Place some tape on the underside of the leaves. Press them to the wooden tray. Be sure there is tape on the edges especially so they stay down when painted.

3. Set the tray on a piece of newspaper. Apply two coats of spray paint, making sure to spray the sides and all of the angles. Mist carefully around the leaves so you don’t blow the edges upward.

4. Allow the tray to set for 20 minutes to dry. Once the paint is dry, carefully peel off the leaves. You will notice the impression now in the tray.
5. Finish the leaf stamped wall hanging by attaching some ribbon to the back of the tray. For this step, use hot glue since it is nice and strong. Just press the ribbon to the back of the tray and allow it to dry.

Your leaf stamped wall hanging is now ready for display! Hang it from a nail or wreath hook if you wish. It is the perfect piece for adding a pop of color to an otherwise drab and boring space.
Gather your supplies and give this frugal fall craft a try.
