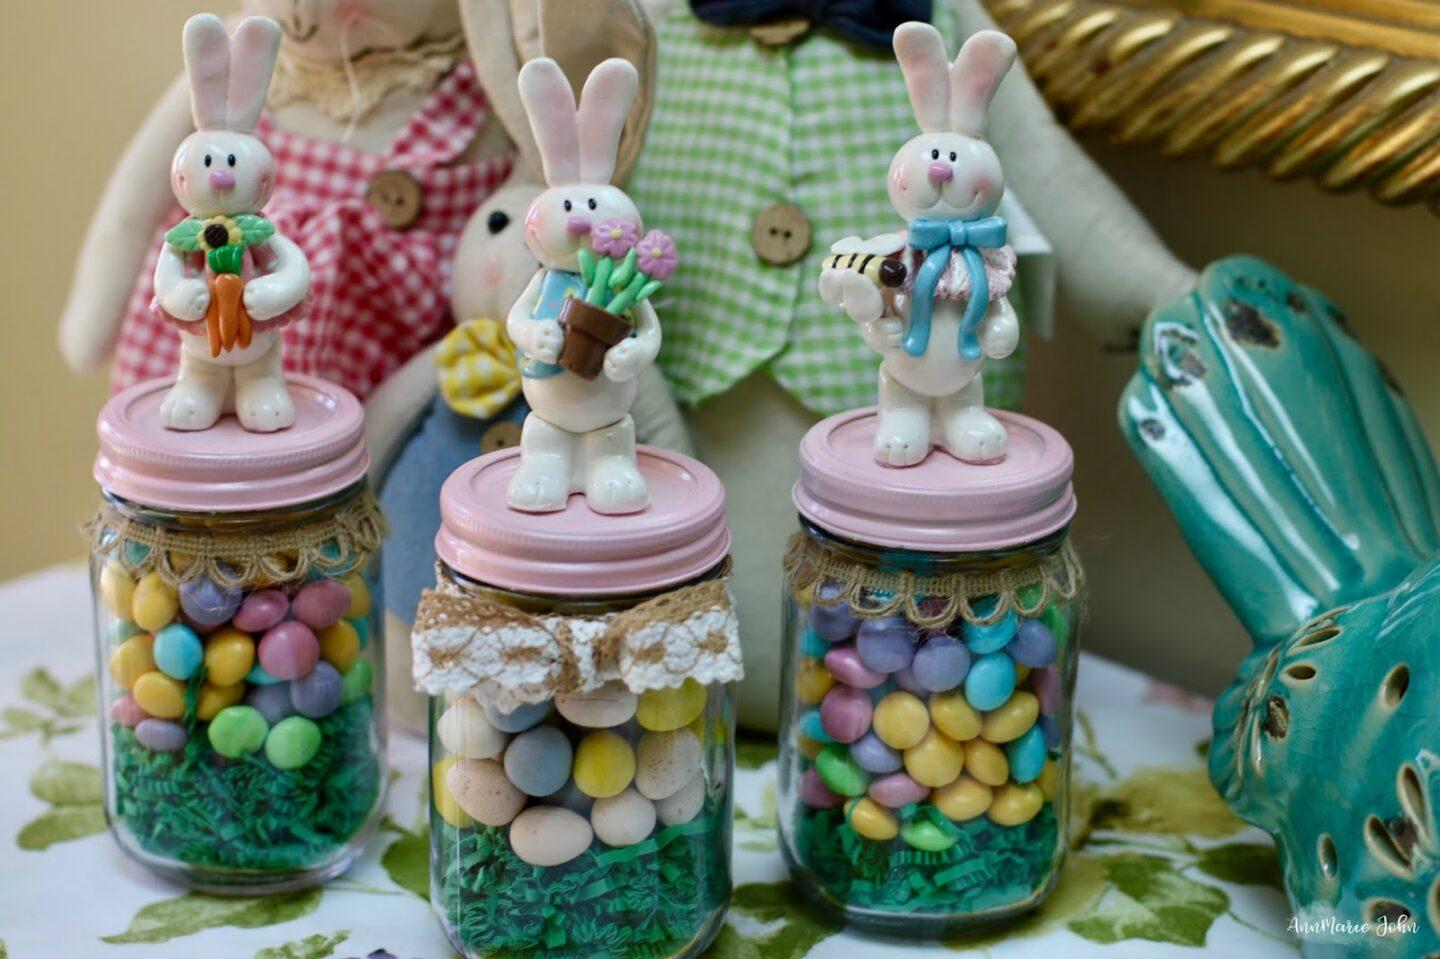
These Easter Bunny Candy Jars will make great Easter gifts, or you can keep them for yourself and use them as decor.

Can you believe that Easter is only a few weeks away? If you’re looking for new Easter traditions to start with your family, I’ve got some ideas for you. I remember when Madison celebrated her very first official Easter. She was a year old, and we set up an indoor Easter egg hunt. It was a lot of fun and something that has now become a tradition with us.
There’s just something about Easter that makes me happy. I know that spring has finally arrived and the colors, something about those pastel colors that just says “Easter is here!”. While bold, bright colors remind me of spring, pastels remind me of Easter. I love the decor in the stores, complete with bunnies and baby chicks. Today I’m sharing with you this Easter Bunny Candy Jar that will have you anticipating Easter for yourself.
Easter Bunny Candy Jar
Supplies Needed:
Mason Jars
Bunny Figurines (Found at your local craft store)
Easter Candy – I used Cadbury Mini Eggs and Limited Edition White Chocolate M&Ms
Easter Grass
Ribbon of your Choice (Burlap or Easter colored ribbons will work fine)
Pastel Spray Paint (I chose pink)
Glue/Glue Gun
Directions:
Step 1: Spray the lids of your mason jar in your preferred color in an open area. Easter is all about pastels, and for this, I used Rust-Oleum Candy Pink Gloss and applied one coat. You can use whatever pastel color you prefer. I think pastel blue and green would also be perfect. One coat takes about 20 minutes to dry, but I kept it in the sunlight for about an hour.
Step 2: Add a layer of grass at the bottom of your mason jar. This will act as your egg nest.
Step 3: Next add your candy until it’s filled to the top.
Step 4: Place your lid on your jar and decorate with your ribbon. You can either decorate as a bow or just layer it around your jar. You can even forego the ribbon if you would prefer.
Step 5: Glue your bunny figurine to the top of the lid of your candy jar. Make sure that it is secure because you don’t want it coming apart before you gift it.
This craft takes about 30 minutes from start to finish, but only because you’re painting the lid. If you’re running low on time and want to do as many as you can, you can also forego painting the lids, but I personally think it looks so much better painted.
You can either gift them or use them as decor, but be careful with the kids because you might end up with an empty jar void of candy, which happened in my case.
If you decide to make these let me know how they turned out.
Are you ready for Easter?