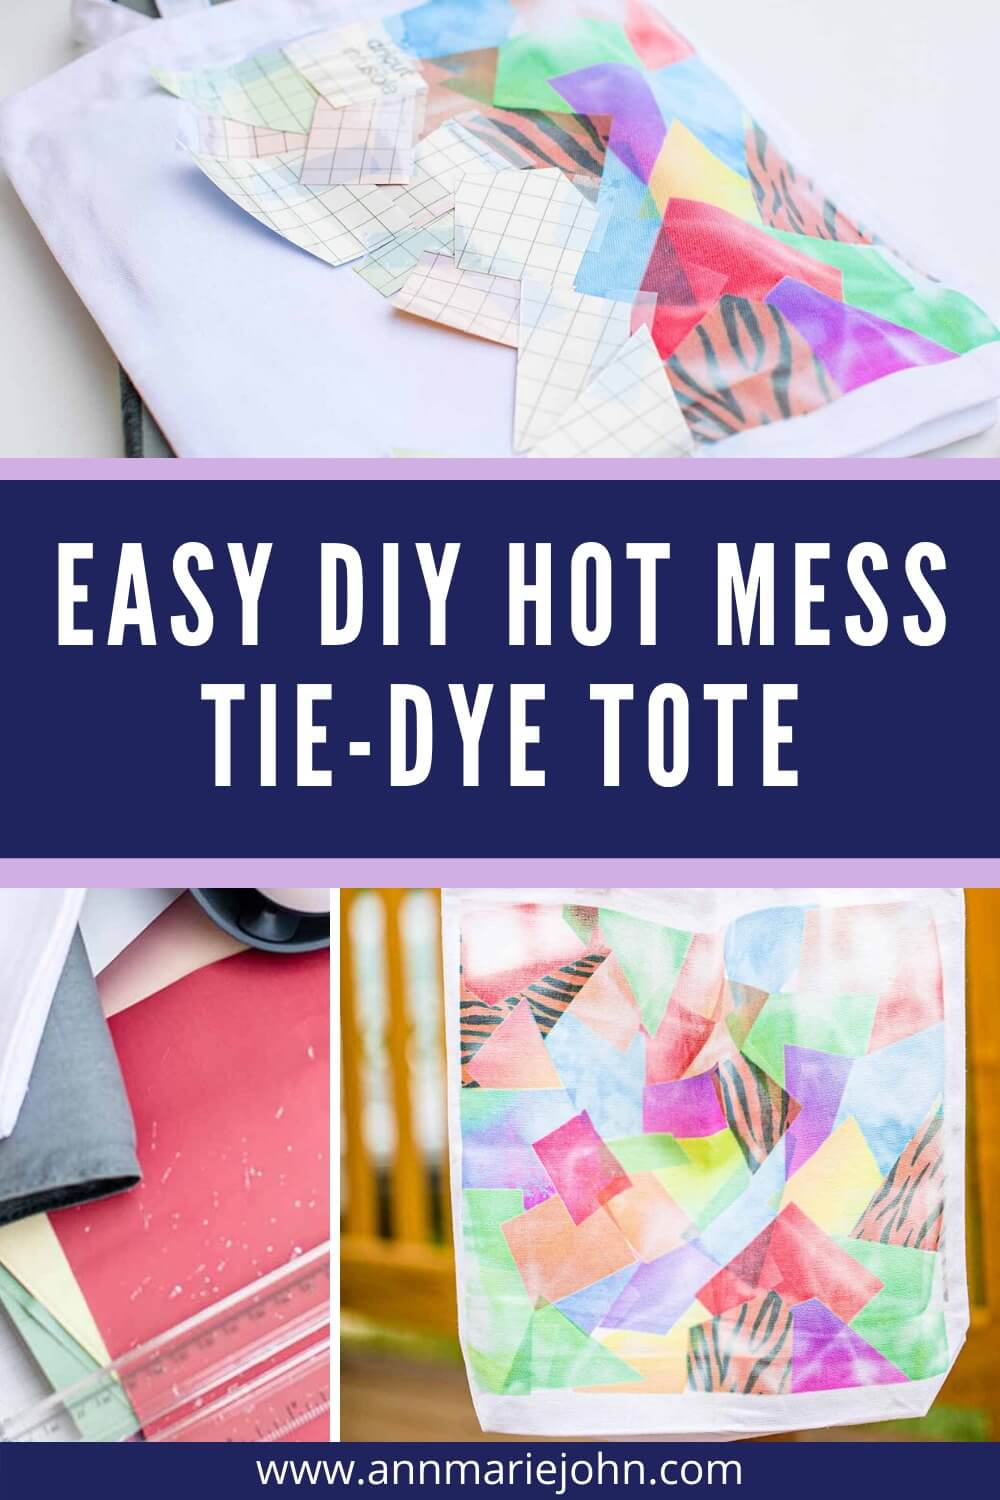
Don’t get rid of your Infusible Ink Transfer Sheet Scraps! Save them and recycle them to make this adorable hot mess tie-dye tote. And best of all, you don’t need a Cricut machine to make it, but an EasyPress is highly recommended.
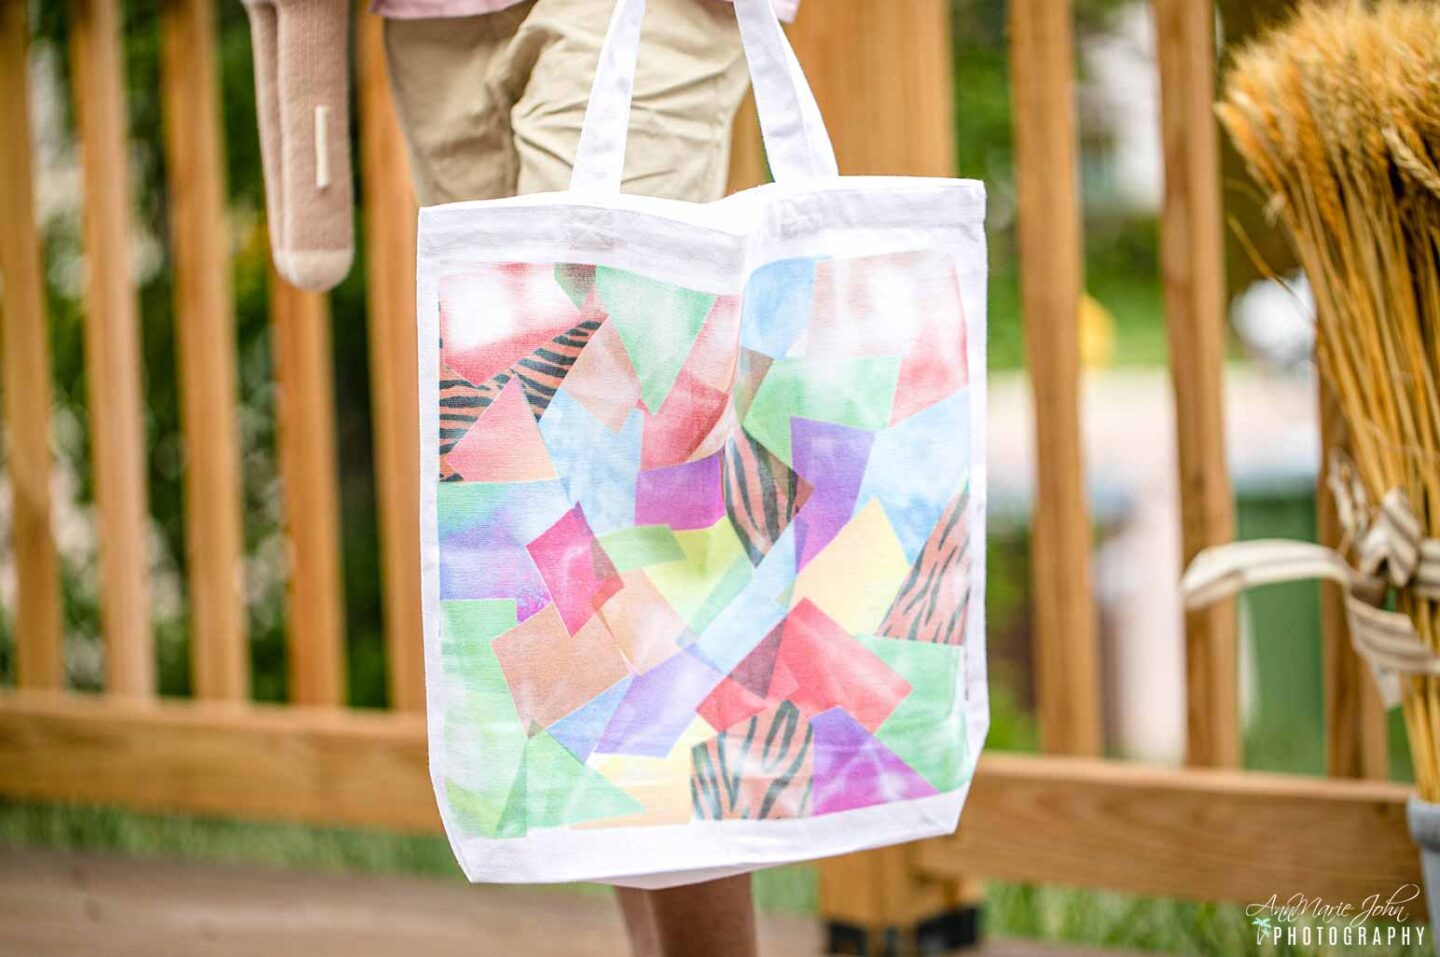
Working with Cricut Infusible Ink Transfer Sheets has been a lifesaver. While I enjoyed making vinyl tees, Infusible Ink is an entirely different ballgame and a game-changer. Not only is it a lot easier to weed, but it lasts through hundreds of washes. So far, I’ve made quite a few projects, including our Black History Month Tees, that I get asked about every time I wear my shirt. However, after making my Watermelon Tote, I realized that I had quite a few scraps or pieces of infusible ink sheets that I wouldn’t be able to reuse. Then it hit me!

Remember that tie-dye shirt I mentioned when I did my Watermelon Tote that Madison and I made a few weeks ago? Well, that turned out to be a hot mess, including my hands. It’s why I won’t ever do another tie-dye project using real ink. However, it dawned on me that I could possibly recreate a look that’s similar to tie-dye using my scrap materials from my Infusible Ink projects. That’s how this idea was born. It’s so much easier to do than an actual tie-dye shirt or tote since you’re not using actual liquid ink, and I have to say that it turned out rather well.
Here’s something to note, no two totes will ever be the same, so you’ll always have something that is uniquely yours, and this lasts through hundreds of washes, so you’ll more than likely have it for a lifetime.
Here’s what you’ll need:
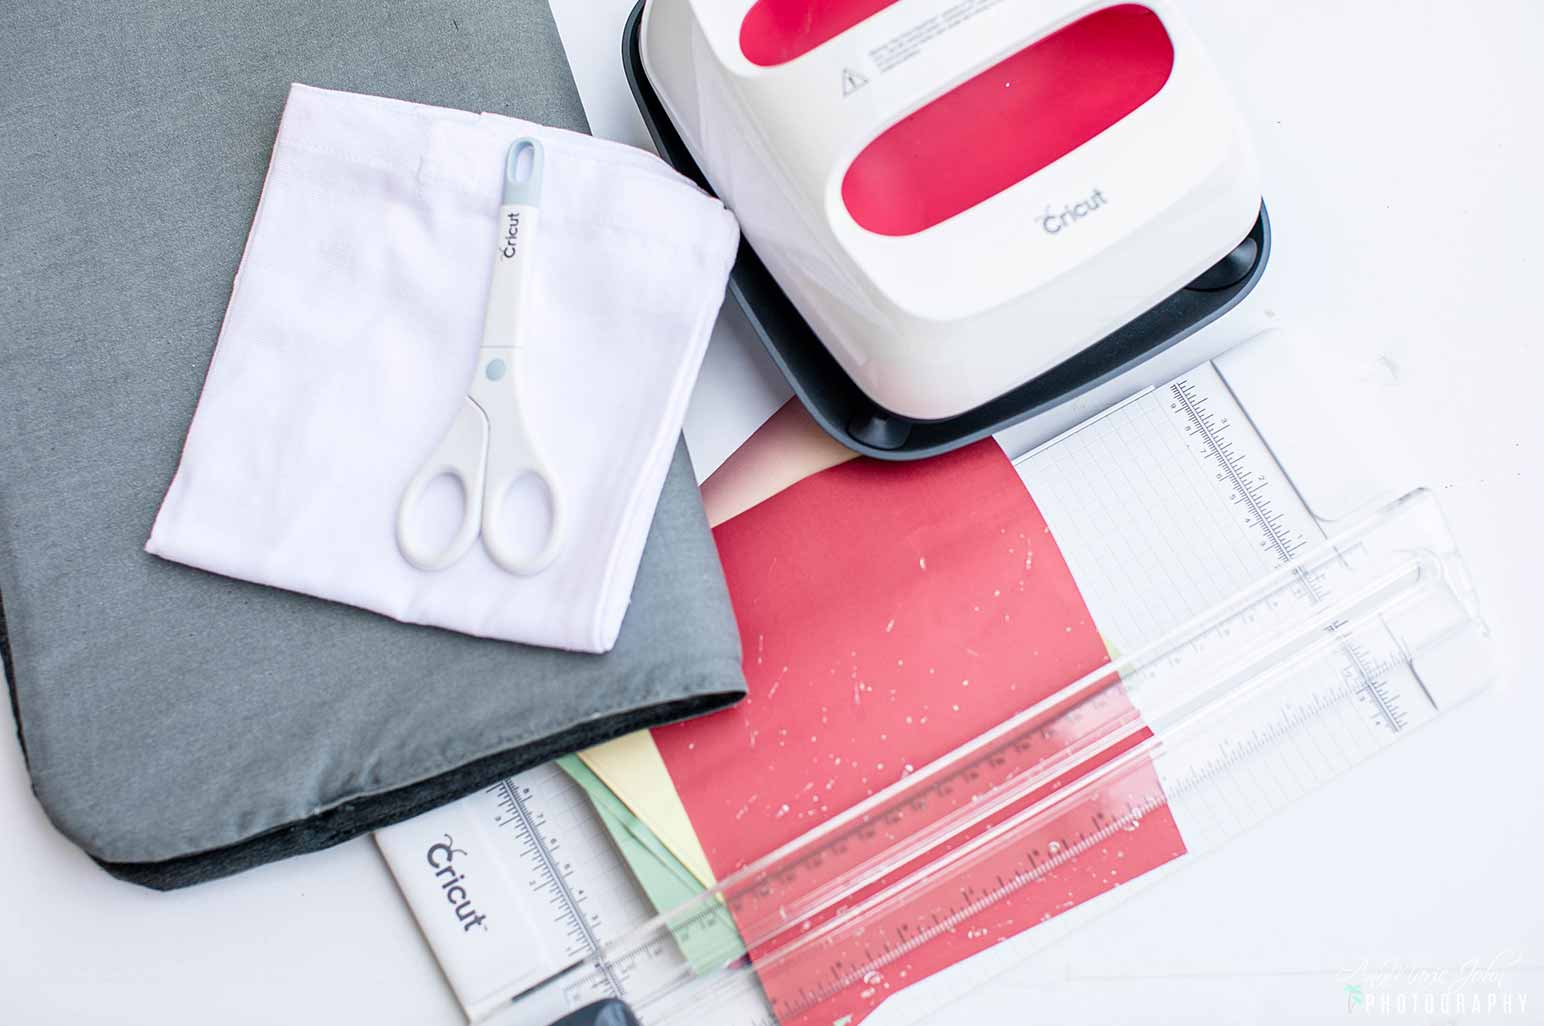
SUPPLIES
- White Canvas Tote (Picked mine up at Walmart)
- EasyPress Mat (optional)
- Paper Trimmer or Scissors
- Cardstock
DIRECTIONS
STEP 1: Begin by cutting your scraps into smaller pieces. While you can keep them big if you want your design to be bigger, I decided on going smaller.

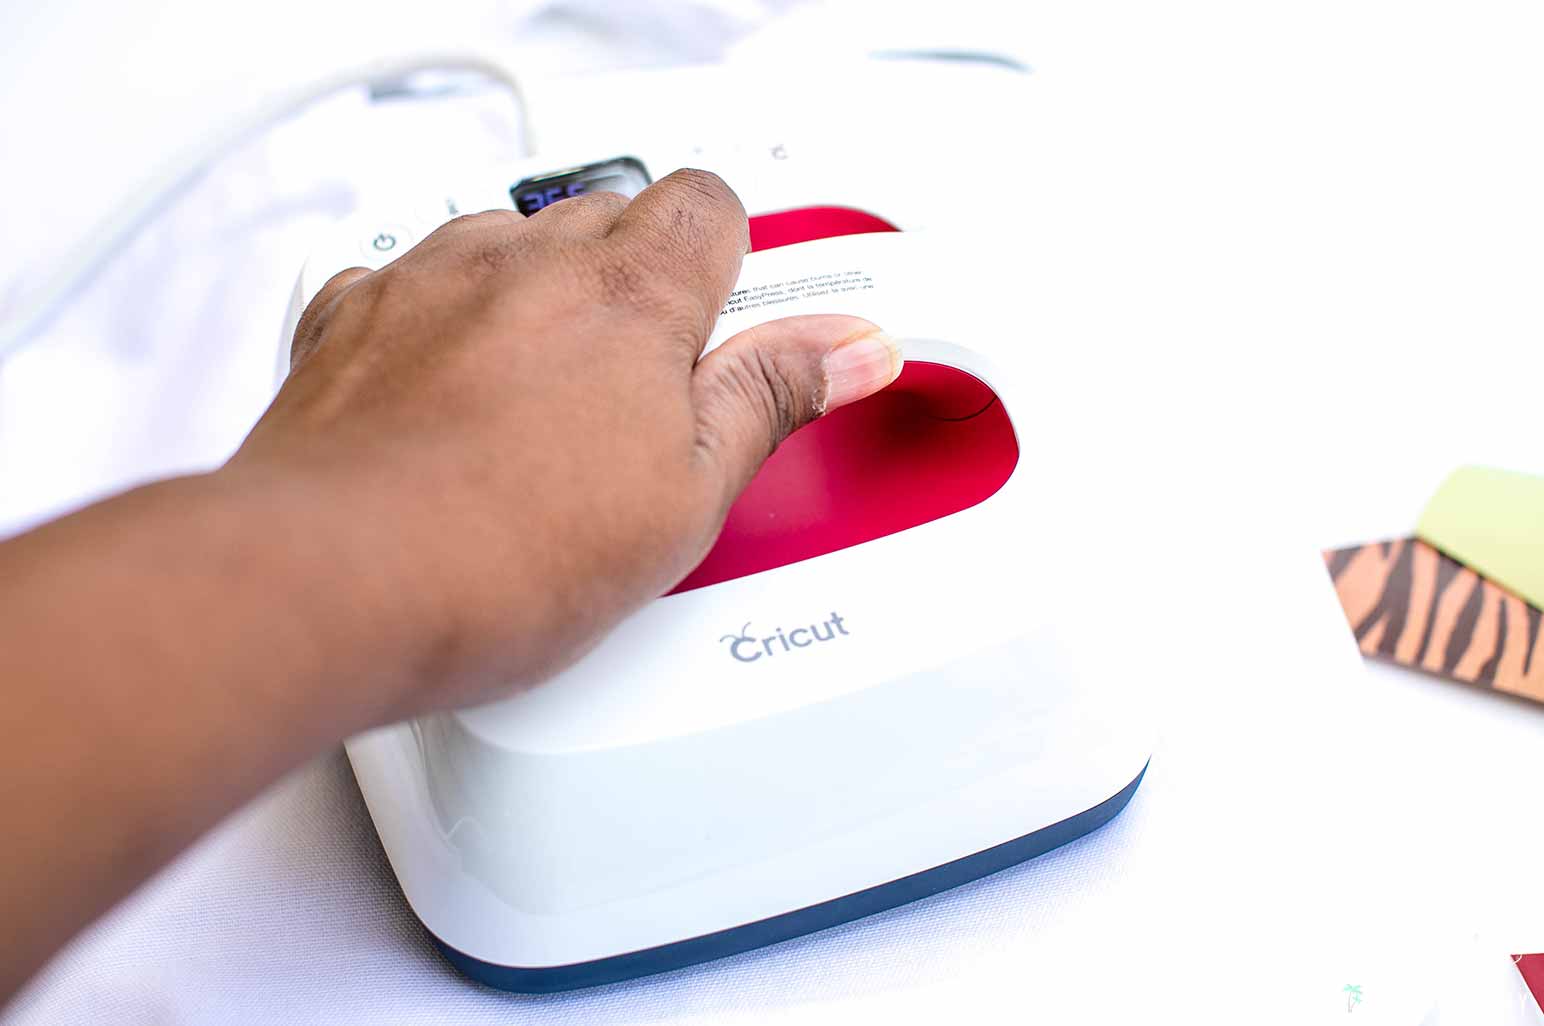
STEP 2: Heat up your EasyPress to the temperature recommended, using the Cricut Heat Guide. I heated mine to 385°. You’re going to want to iron out all the wrinkles from your tote with your EasyPress, pressing each side for about 15 seconds.
STEP 3: Once you’ve removed all the wrinkles, start layering your scraps onto your bag. You’re going to want to do it in sections as that makes it easier for you to decide where you want a particular color. I started from the right and layered the colors, taping them down with the heat resistant tape.
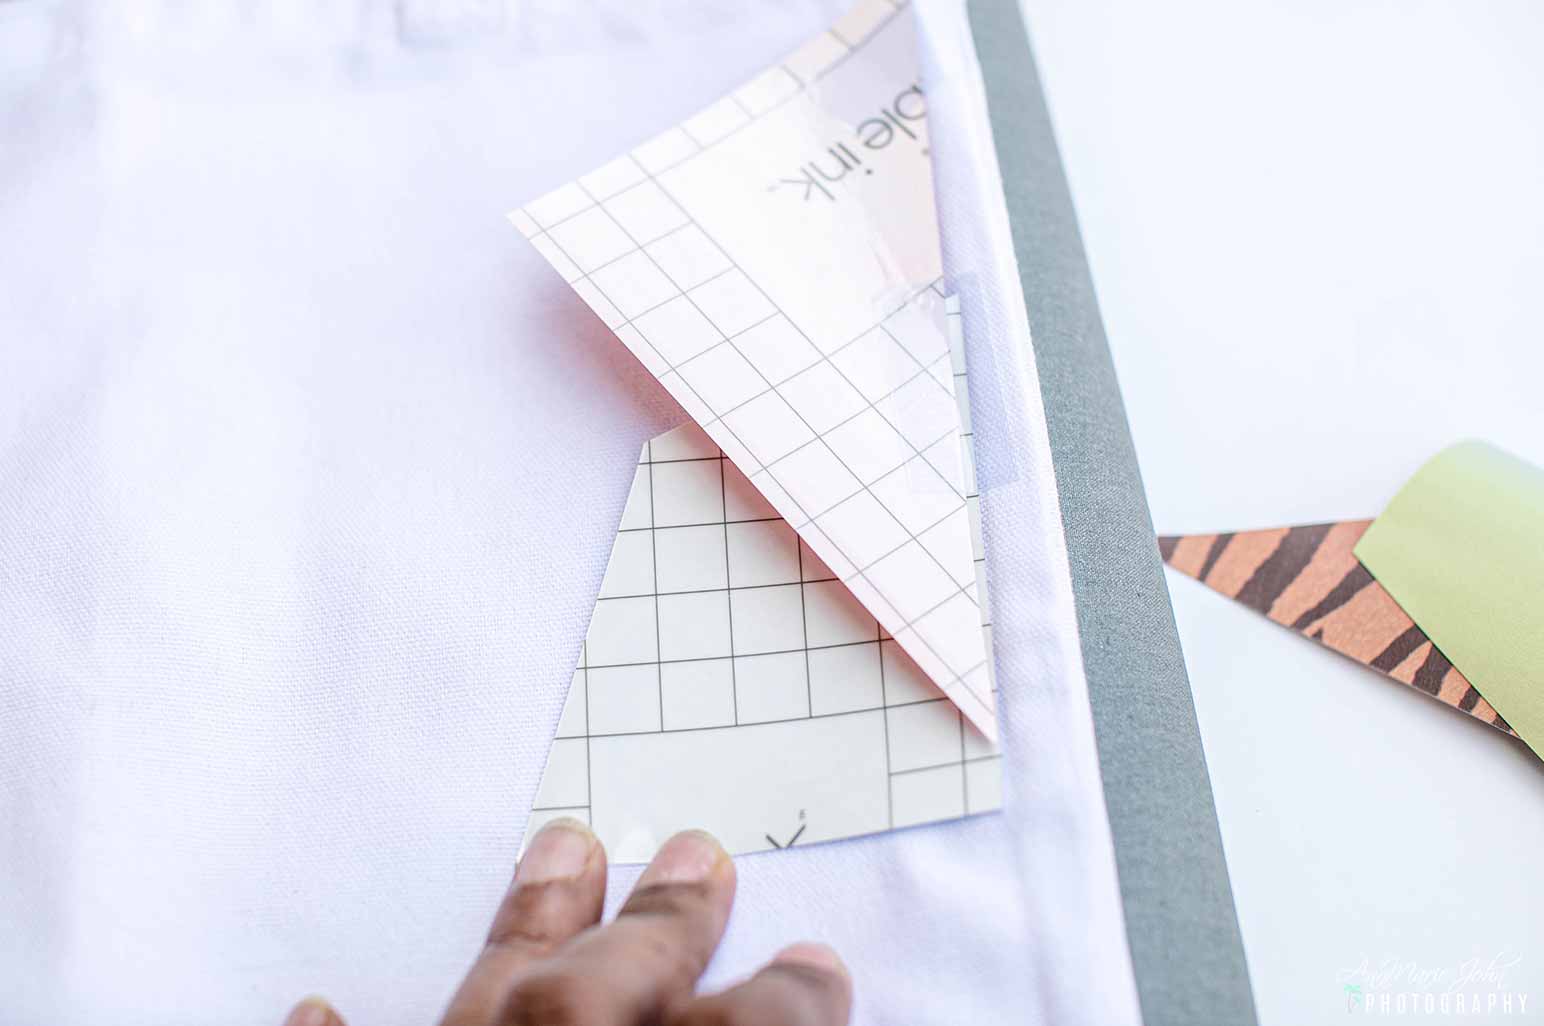
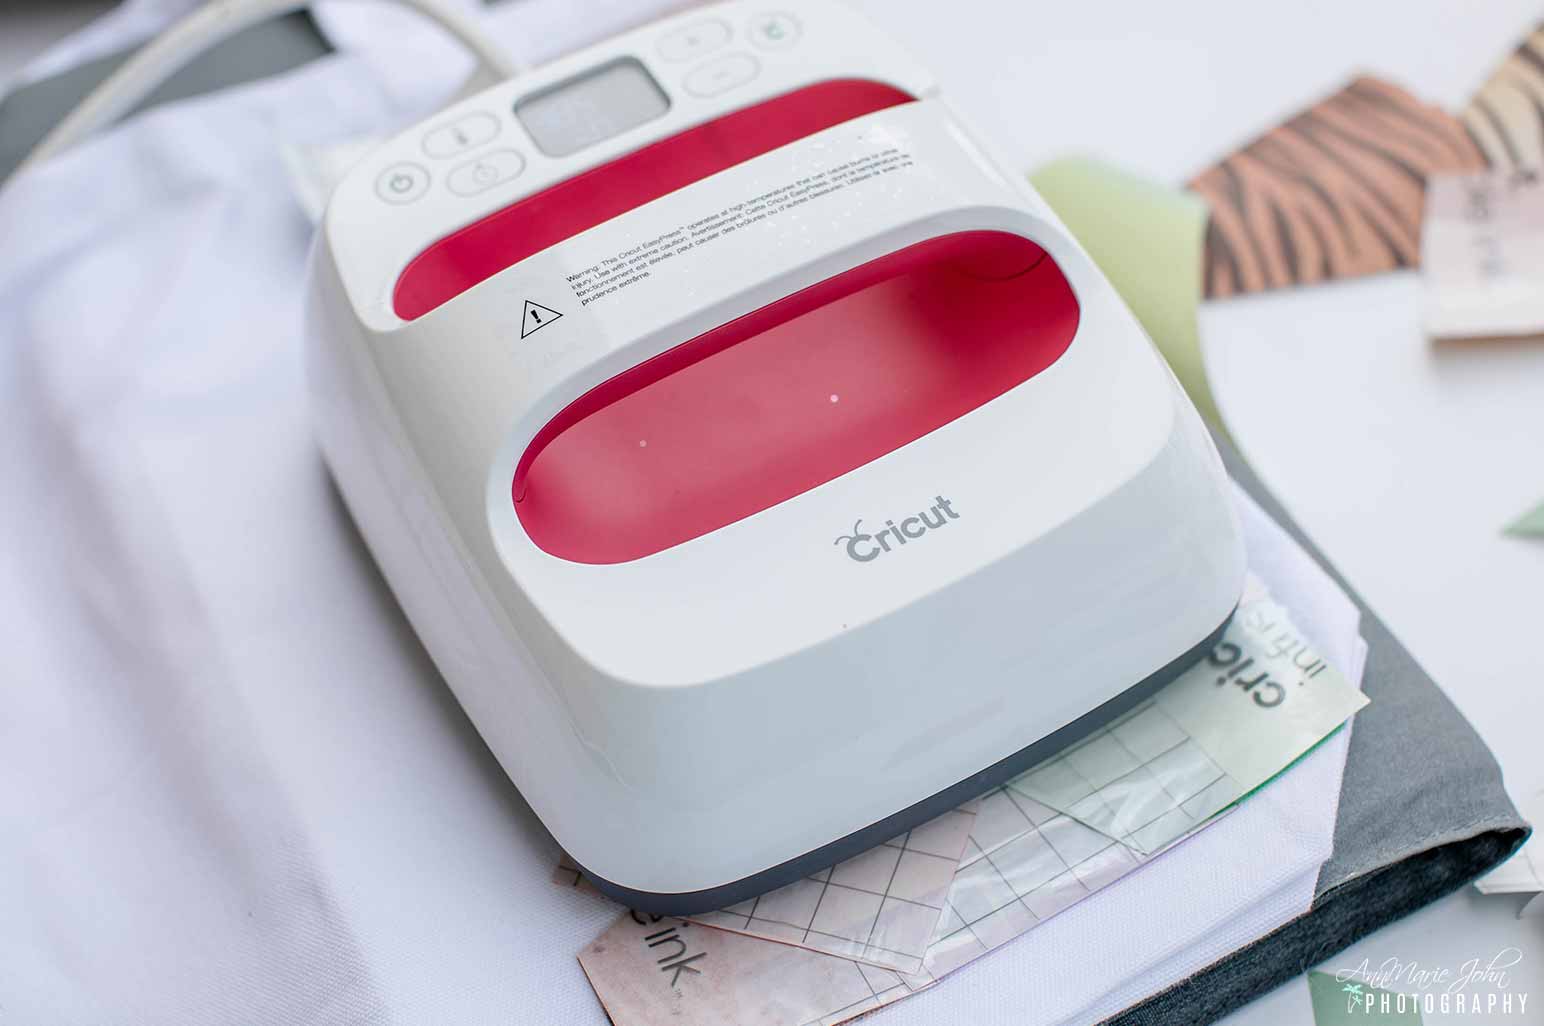
STEP 4: Unlike our watermelon tote, I didn’t place my EasyPress Mat on the inside of my tote. Instead I used 4 sheets of cardstock on the inside of the tote and placed my EasyPress Mat on the bottom of the tote. I also didn’t use butcher paper, but instead pressed the infusible ink scraps directly with my EasyPress for roughly 30-40 seconds.
STEP 5: Allow your scraps to cool before slowly removing them from your tote. Then start layering all over and repeating from step 3 all over again until your tote is complete.
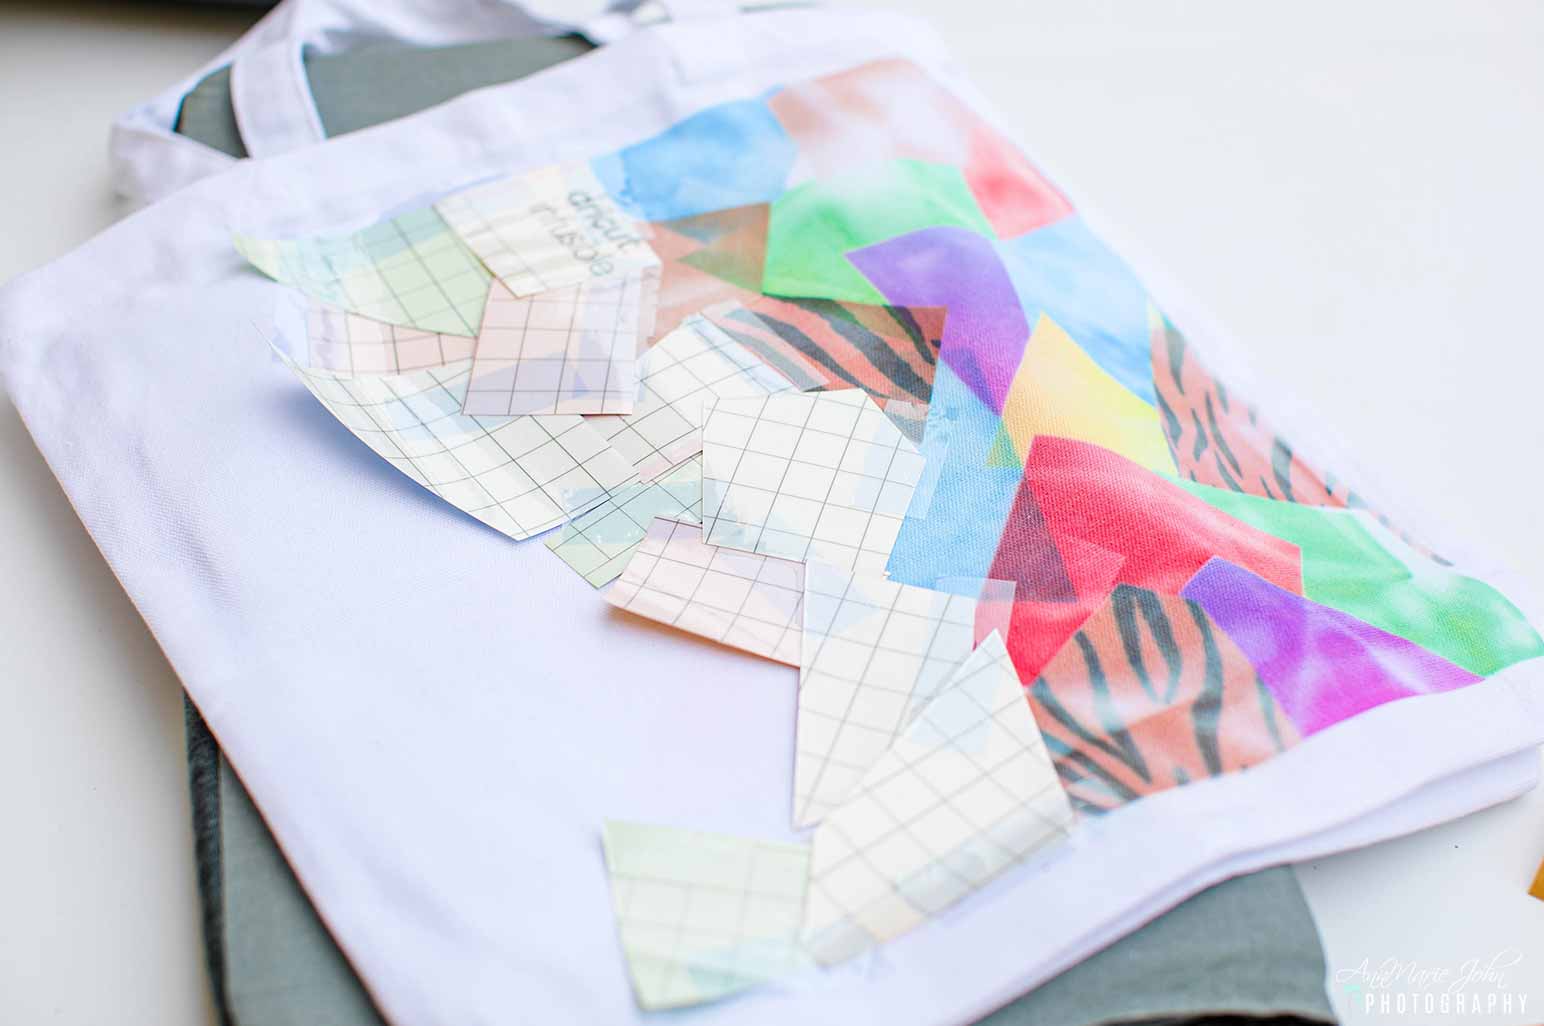
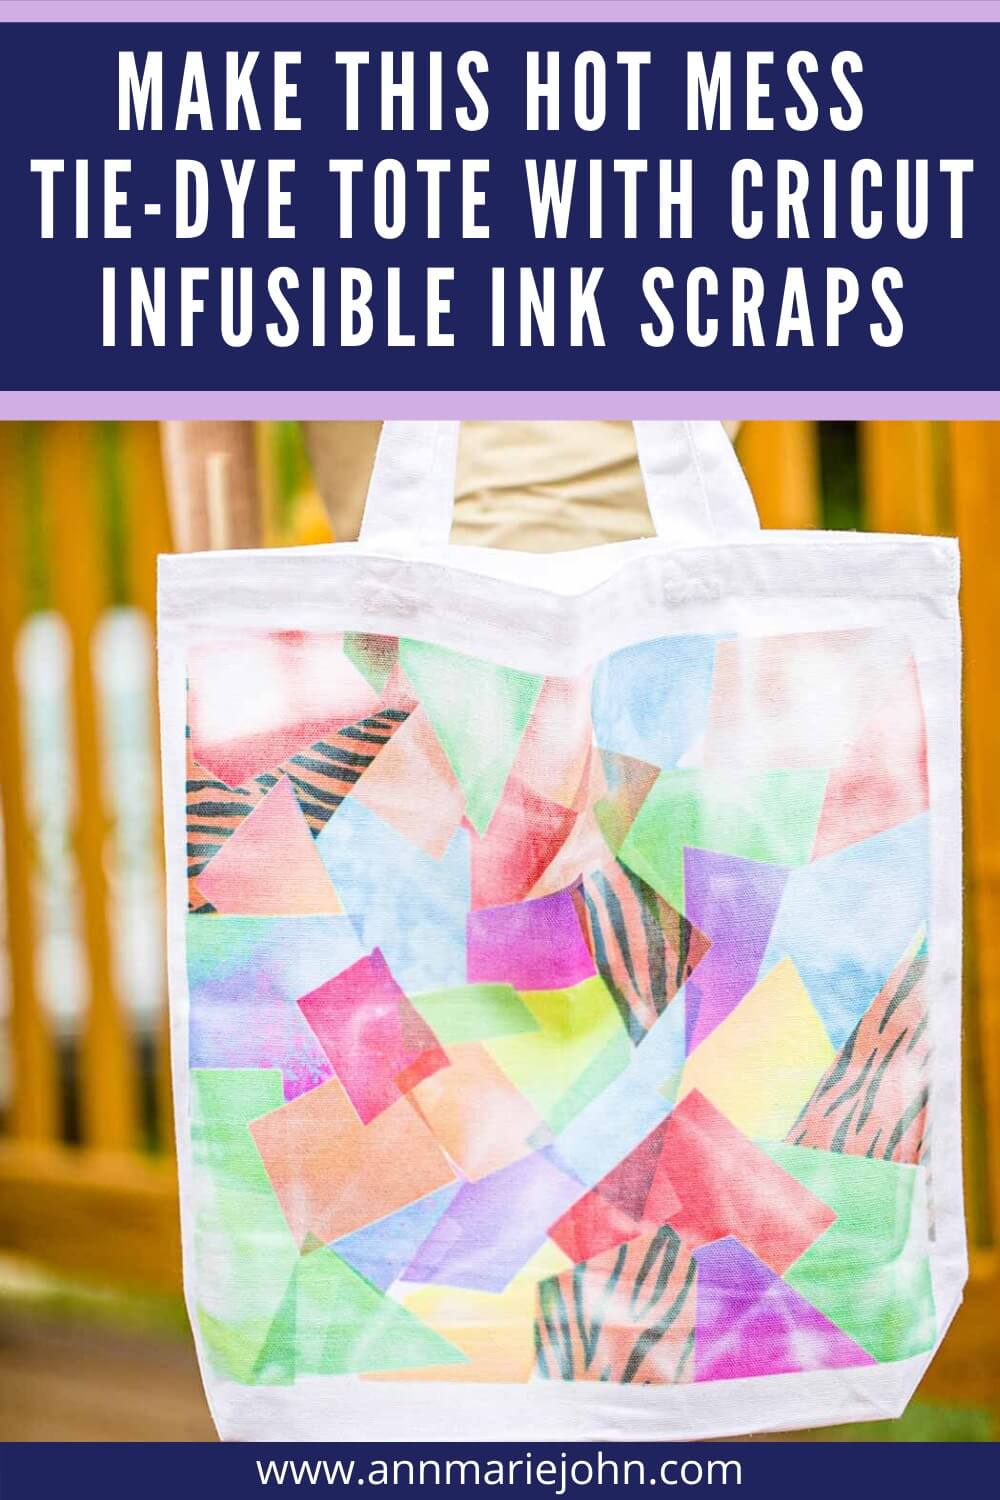
That’s it! Your hot mess tie-dye tote is now complete, and I can’t believe how awesome it turned out. As you may notice, my colors are all over the place, some on top of each other, some not, but that’s why it’s called a hot mess, but it’s a beautiful hot mess.
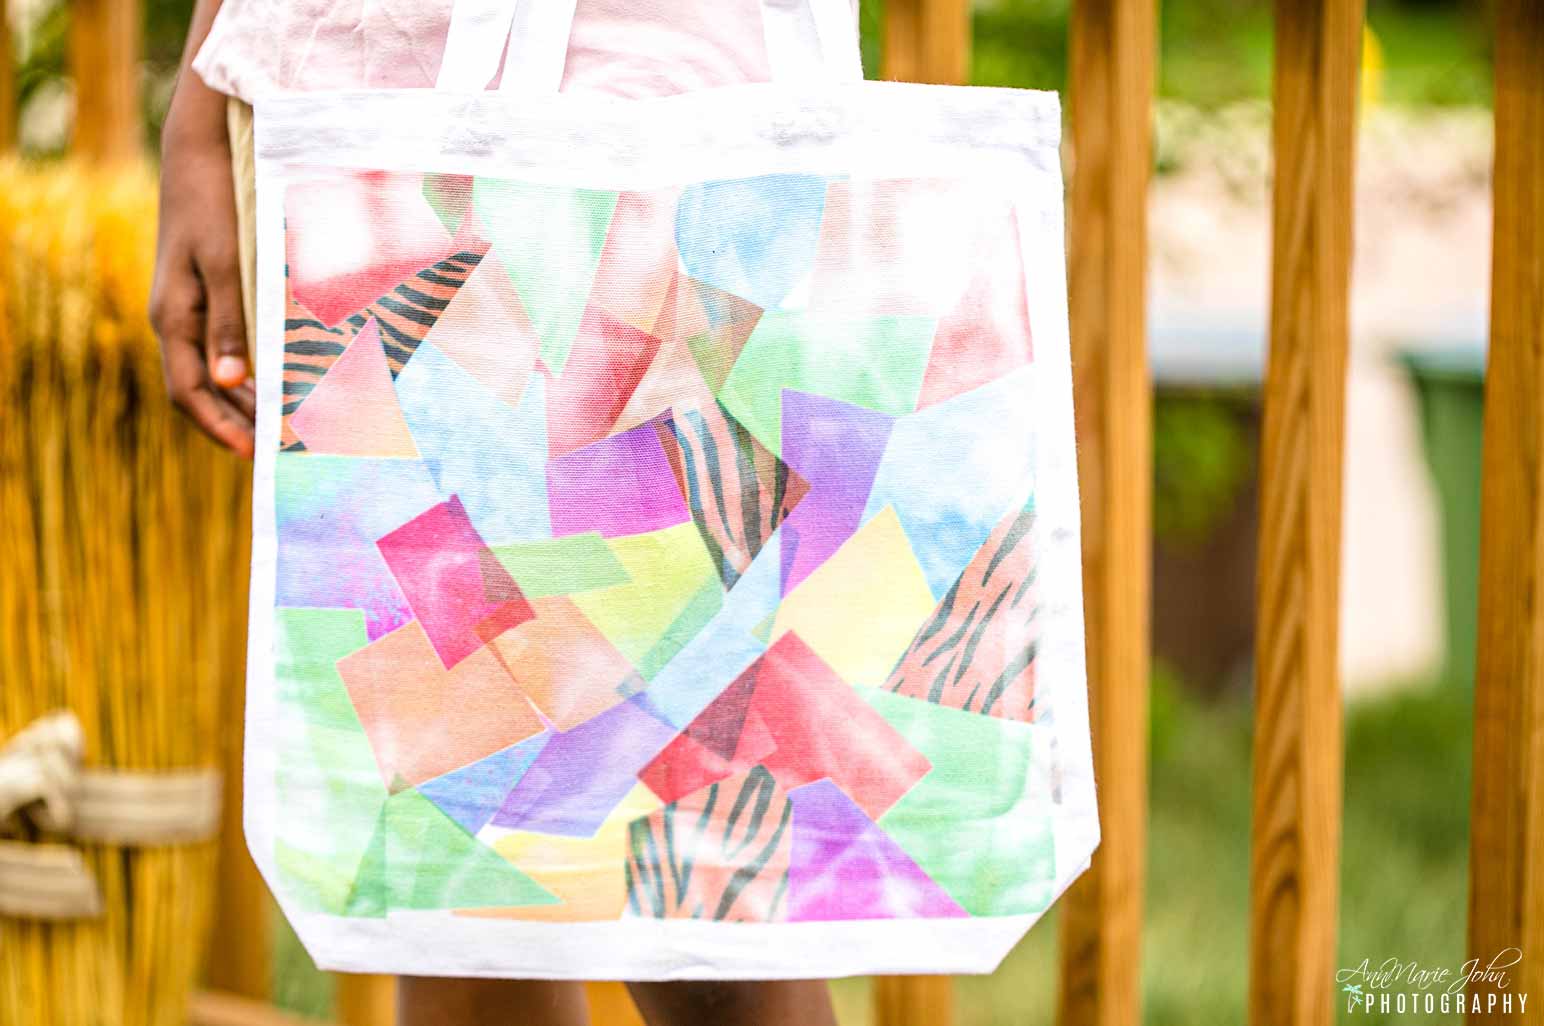
While I originally thought about giving it as a gift, I’ve decided to keep it for myself. Remember, even if you decide to do another, it will never be the exact same as the first one that you did. So skip the dyes and reuse all your leftover scraps by making a few totes or even tees. You’re going to love them!
PIN THIS POST TO YOUR FAVORITE PINTEREST BOARD


