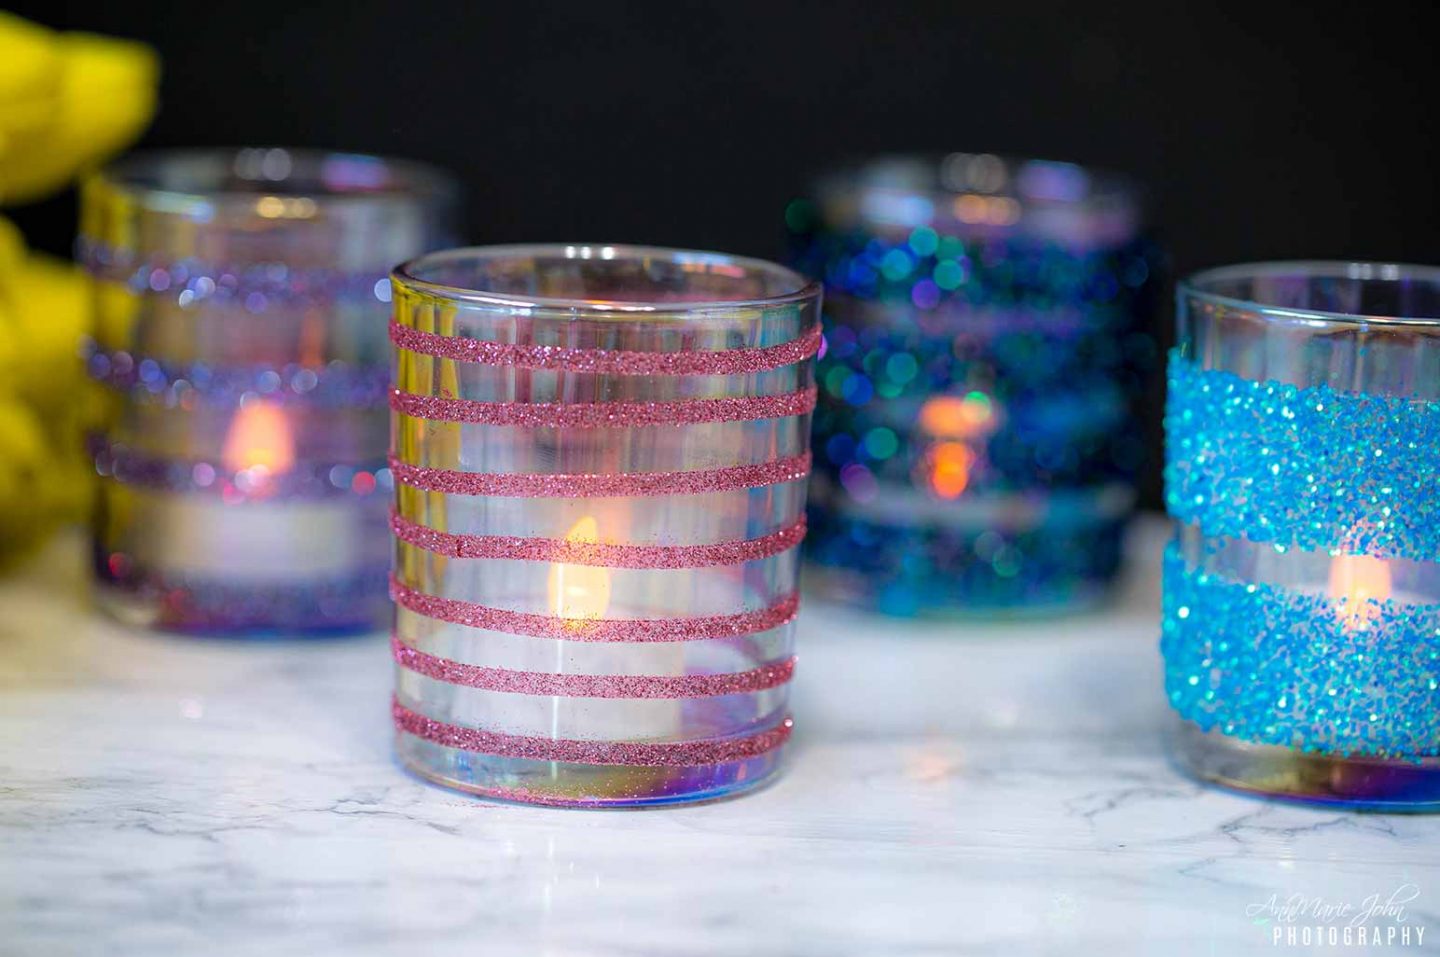
Skip the mod podge and learn how to make these gorgeous glitter votive or tea light candle jars with double-sided tape.

Don’t you just love everything glitter? I sure do! Although it’s a pain to clean up, I can’t help but use glitter whenever I get a chance. FYI, if you’re looking for an easy way to clean up glitter, I’ve found that using a wet napkin usually does the trick. I’ve used confetti glitter in shadowboxes, and I’ve even used glitter in valentine’s day jars in a rather unique way.
Once again, I’ve decided to skip the mod podge, and this time work with double-sided tape. While I enjoyed using the hairspray technique, I noticed that after a while, it didn’t last as long. While mod podge does seem to last forever, it’s such a pain to paint the jar and not have it too thick or too thin. You’ve also got to put it to dry. The double-sided tape technique is easy, as you only need to remove the backing when you’re ready to add your glitter.
So how is it done? Let’s get into it!
Here’s what you’ll need.
Supplies
Glitter Assortment (fine, extra-fine, chunky, etc.)
Smooth Glass or Votive Candle Jars
Double-Sided Craft Tape in various sizes
Votive Candles or Tealight Candles
Small Brush for clean-up
Directions:
STEP 1: Clean your glass jar to remove oils, then begin by applying your double-sided tape to your glass jar. If you’ve decided to use various sizes, then you’ll have a few different designs, such as the ones I made. However, if you’re only using one size, then they’ll obviously all look alike unless you space them apart differently.
STEP 2: Once you’ve placed the tape the way you would like, remove the protective backing from your tape.
STEP 3: Add your glitter! I started off with extra-fine glitter but decided to incorporate some chunky glitter to see the effect, and I ended up loving it so much better. Press loose glitter into the tape to get as much coverage as possible. If there are bare spots, just add more glitter. Remember, glitter is life!
STEP 4: Once you’ve “glittered” to your satisfaction, use a small brush to brush off the excess glitter leaving it clean and beautiful.
*Note* – To save and repurpose your glitter, do your glittering over a blank sheet of paper or cardstock. Simply fold the paper and pour the excess back into its container.
STEP 5: Now, it’s time to add your votive or tealight candle to the jar and let the light shine through. Just look at how awesome it looks shining through all that glitter.
What I love about this project is that it literally takes just minutes to make, and unlike my mod podge glitter jars that I’ve done in the past, these are only as permanent as you want them to be. If you want a new look, simply peel the tape off your jar and repurpose your jars. It’s that simple!
I can totally see these in the bathroom while indulging in some self-care. So grab your supplies and make some today. You’re going to love them!