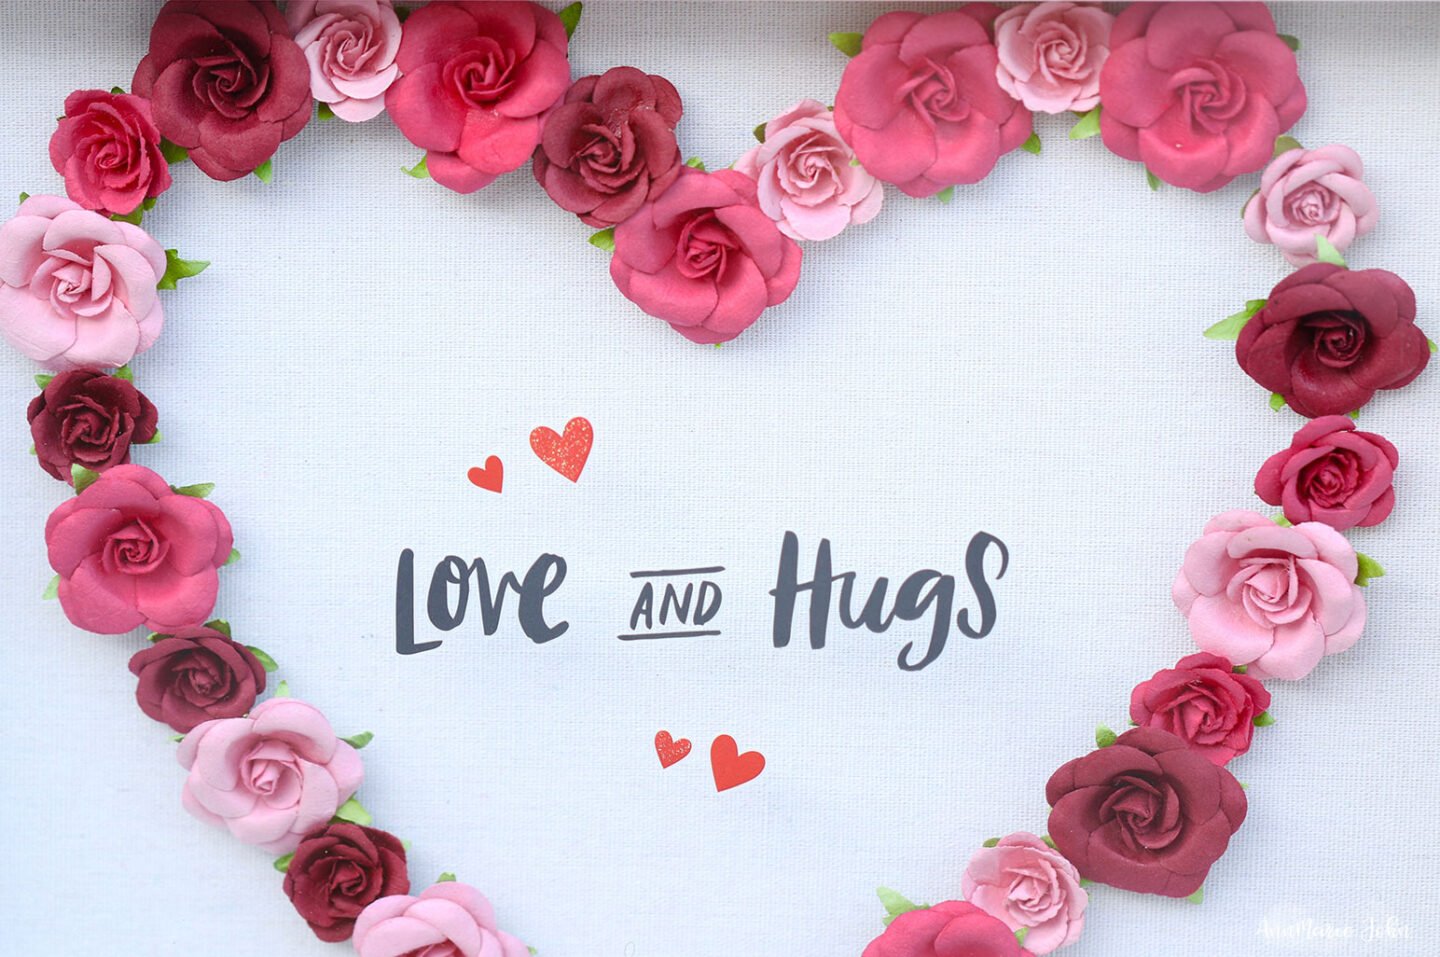
Valentine’s Day is fast approaching! Didn’t the new year just begin? Our easy DIY Valentine’s Day Shadow Box will help get you in the mood for the big day.

Valentine’s Day used to mean a great deal to me. There were flowers, chocolate, dinners, and a gift by the end of the day. However, gifts, flowers, and dinners have become so commonplace that the meaning behind the big day no longer gives me the thrills that it used to. Now Valentine’s Day has become just another big commercial “holiday.”
I’d much prefer to have a handmade gift, a love letter, or even a handwritten card, instead of one that you picked out at the Hallmark store because the words “spoke to you.” Don’t get me wrong, I still love receiving roses, but everything else now just seems a bit too “je ne sais quoi.”
I’ve also recently gotten into the shadow box craze; it also helped that my craft store, Michaels, had an amazing sale on shadow boxes, and I stocked up on them. I wanted to create something that would mean a lot more to me than some store-bought gift and something that I could reuse year after year as home decor for Valentine’s Day. This easy DIY Valentine’s Day Shadow Box takes about 10 minutes to complete, and I have to say that it turned out rather well.

DIY Easy Valentine’s Day Shadow Box
Here’s what you’ll need
Supplies
1 – 11×14 shadow box
3 – Package paper flowers (I purchased these)
1 – Valentine’s Day stickers (I purchased these, but you can also use your Cricut machine)
1 – Decorative heart (purchased at the dollar store for trace purposes only)
1 – Glue dots

Instructions
Step 1. Begin by removing the back of your shadow box. You’re going to do everything on this back portion.
Step 2. Use your decorative heart and trace the outline on the inside of the back portion of your shadow box backing. If you can do a free-hand heart, then, by all means, go ahead and do so. I found that it was easier to trace the heart.

Step 3. Arrange your flowers in the manner that you would like them along the traced outline. Since my package had both big and small roses, I originally started off using the big roses at the top, with the small roses at the bottom; but initially decided to alternate them throughout the design.

Step 4. Use your glue dots to attach them to your outline. Once they’ve been attached, replace the back of your shadow box.
Step 5. For this final step, if you have a Cricut machine, you can choose a quote of your choice and create it with vinyl. I initially started off doing it this way but found that it was a little too time-consuming. Store-bought Valentine’s Day stickers are so much easier. Simply attach the words you desire on the glass of your Valentine’s Day Shadow Box, and you’re done!

Now you have something that you made with your very own hands that you can share with the one you love. If you’d love to get one done with the kids, you can also check out Madison’s Valentine’s Day Candy Shadow Box. Homemade gifts have so much more meaning because you put thought into them. Here’s to an amazing Valentine’s Day!
