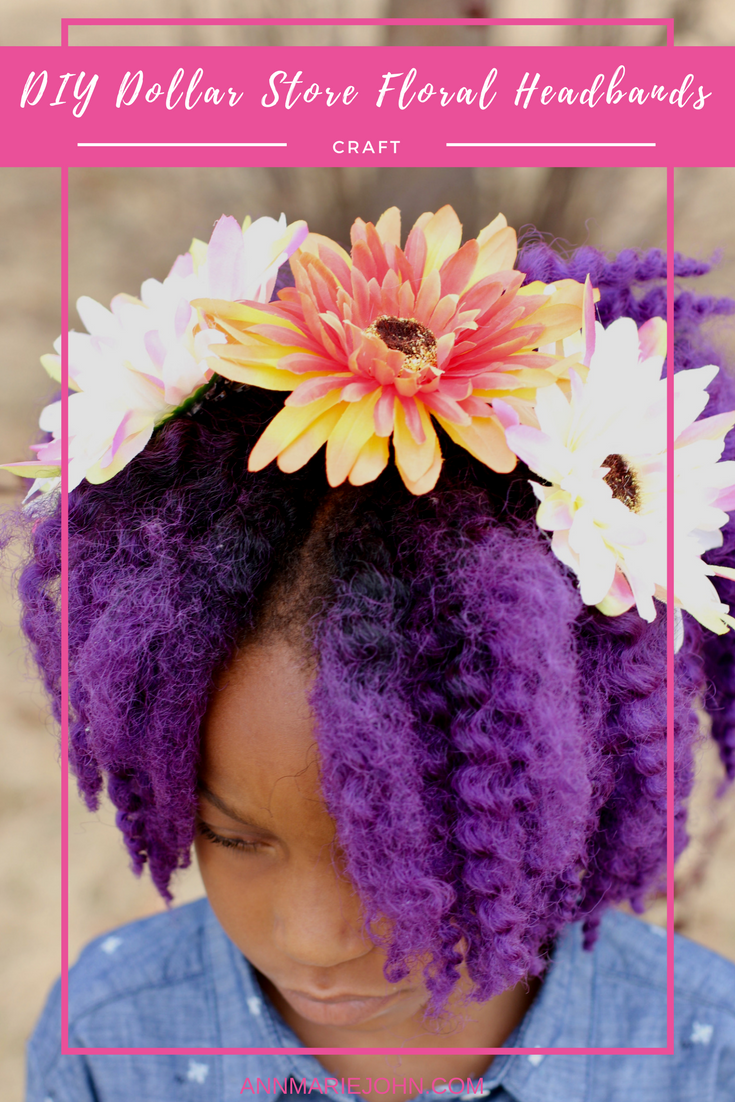
This DIY Dollar Store Floral Headband will take you from winter into spring flawlessly!

So I’ve been asked, why do you like crafting things as much as you do? Let me go into a little backstory. As you might know, that’s if you’ve been a regular reader, or just happened to be going through posts, I suffer with depression. Depression is a severe illness and not one to be taken lightly. My depression started almost 5 years ago when my father died and became even more compounded when my mother passed away a few years later. I however have an amazing therapist. It was during one of our sessions that she recommended doing things with my hands. She suggested knitting, crocheting or even taking up pottery. I am going to be honest with you, I thought she was full of sh*t, but I figured, what would it hurt? What she suggested however was totally out of my league. While I knew how to crochet, I did not know how to knit and or to potter. I ALSO DID NOT HAVE HOURS TO SPEND DOING ANY OF THOSE! As a mother of 4 with 3 of them being at home, I don’t have the countless hours to spend doing any craft, and that’s why my crafts usually take my readers 30 minutes or less. Today’s Dollar Store Floral Headband will actually take you about 2 minutes from start to finish.

DIY Dollar Store Headbands
I am going to be honest before I start with this tutorial. I’m even ashamed to call it a tutorial because it’s two simple steps and as I mentioned, it takes about 2 minutes, unless of course you plan on making as many as you can. This is also one of the least expensive crafts I’ve done as all materials were bought at the dollar store, thus the name. I’m not even going to insult your intelligence by adding step by step photos either. So without further ado – here goes!
Supplies Needed:
Headbands (I purchased the ones with the holes)
Fake Flowers
Glue Gun

Step 1: Gather your supplies together. Separate the flowers that you want to use and decide which you’ll be using on which headband. Cut the stem of the flower as short as you can go. I purchased the headbands with the holes (3pk) so that the end of the flower can go in seamlessly and easily into the hole on the headband.
Step 2: With your glue gun attach the flower to the headband. Secure and you’re done! I did two of them with one flower and another with three (shown in first photo) so that I could have a variety.

Can you believe how easy that was to do? It’s a great way to bring some life back into those old headbands you may even have laying around the house. I love looking at flowers and with spring here for most of us, why not add a few to your hair?

I think they look adorable in Madison’s hair. Don’t mind her, she said I was “interrupting” her play time. So pick up a few flowers and some headbands and make this super easy DIY Dollar Store Floral Headband.
Are you excited for spring?
