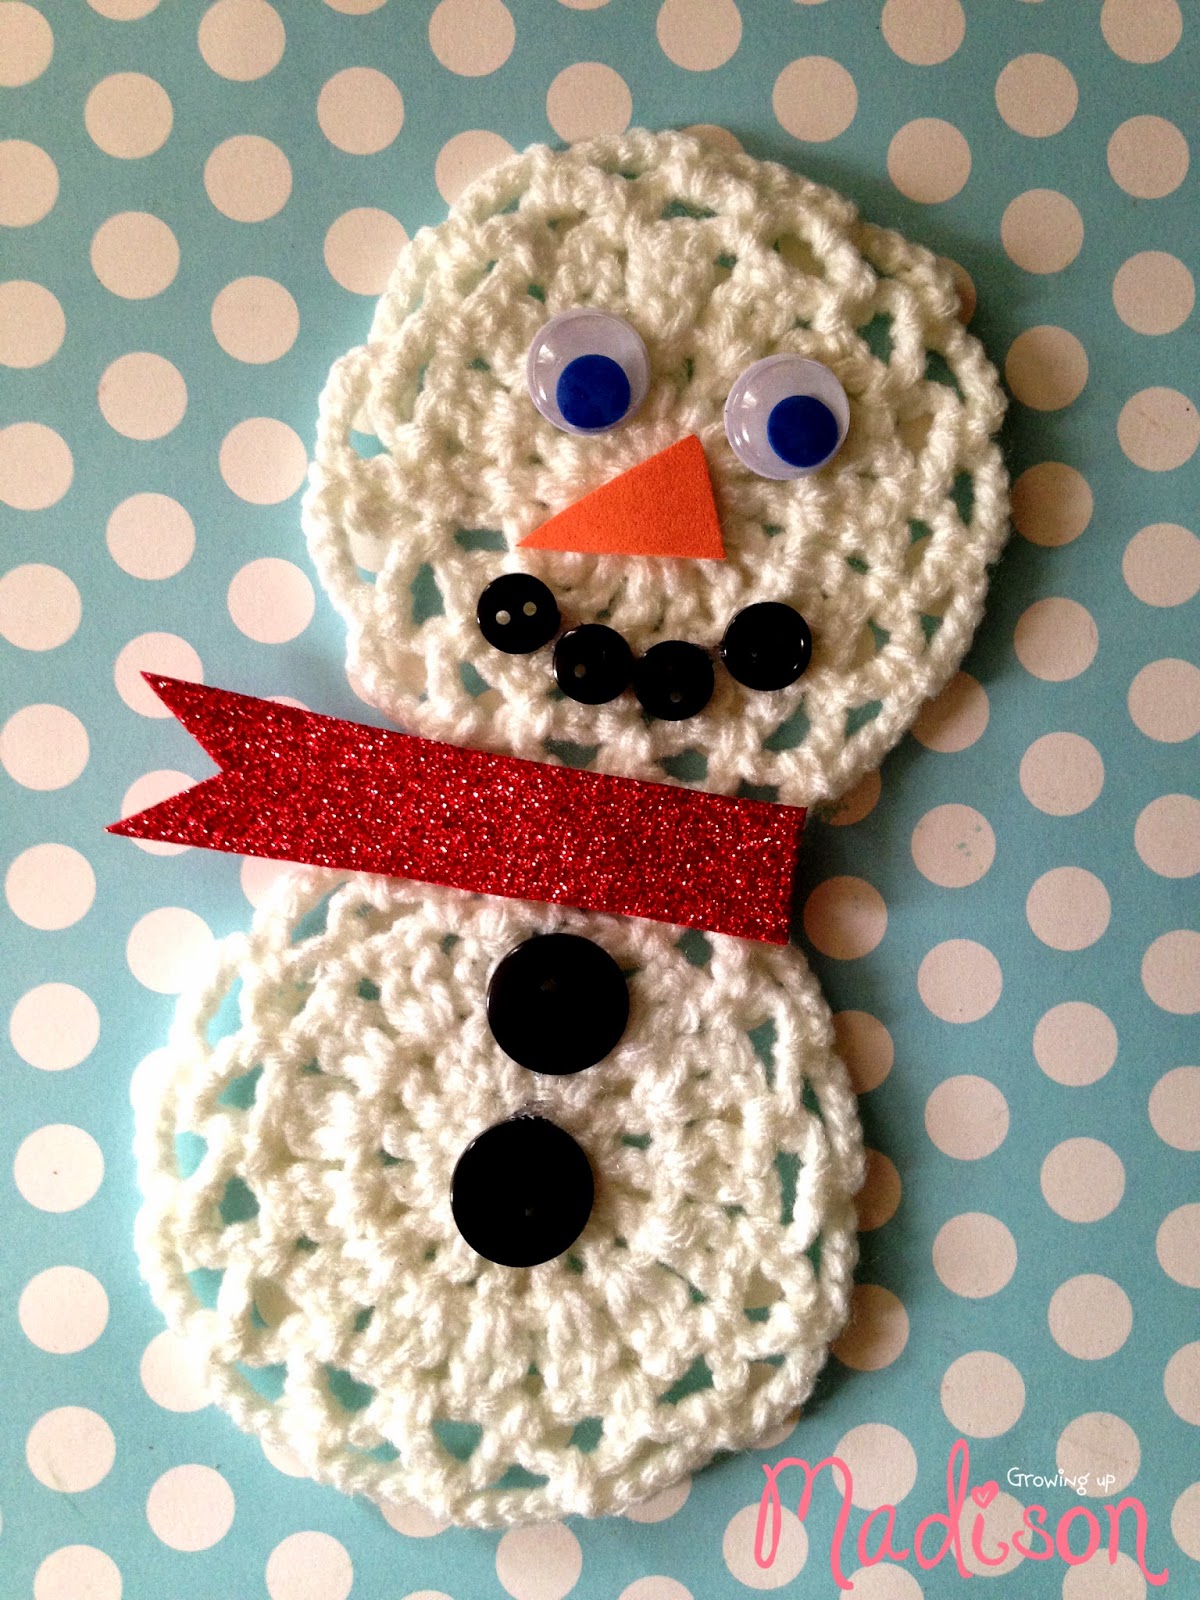
The holidays is all about decorating and it’s one that we love doing. We can’t wait for the tree to go up so we can start our holiday decorations. What do you get when you mix two doilies and a few other craft supplies together? A snowman ornament of course! Take a peek below at how we created our own DIY doilie ornament perfect for decorating your tree with. It is so easy, that even children will enjoy giving this activity a try. Here is how you can get started. Hurry, the holidays are almost here!

Supplies needed for this project:
1 white doilies (sold 2 for $1 at Michael’s craft stores)
Assorted black buttons
Colorful glitter craft foam of your choice
Pair googly eyes
Orange craft foam or felt
Craft glue
Pipe cleaner or ribbon for hanging

Directions:
1. Begin by layering the two doilies together. Lay one on top of the other and attach them with a generous amount of glue. Allow them to dry.
2. You can now form the face. Add a dab of glue to each googly eye and press it to the top doilie.
3. Create the nose of the snowman by cutting a triangle out of orange felt or foam. Attach it to the center of the top doilie with glue.
4. Create the mouth and rest of the snowman details with the black buttons. Create a simple mouth and button down front. Just add a dab, press, and hold until dry and secure.

5. Finish off the snowman with a glitter scarf. Cut a strip of glitter foam, add a fringe or angled end, and glue it across the snowman’s neck.
Your DIY doilie snowman is now ready to be displayed. Add a ribbon or pipe cleaner for hanging with some glue or just by tying it into the doilie. You can now hang your doilie snowman on your tree, from a hook, or even from a gift you intent to give.
Gather your supplies and see how simple it can be to create this doilie snowman ornament yourself. It is sure to be a craft your whole family will enjoy making!
